
Ever found yourself turning the heating up, only to still feel a persistent chill in the room? The culprit might not be your thermostat. More often than not, it’s thermal bridging, the hidden energy superhighways quietly funnelling warmth out of your home. These are essentially weak spots in your building’s insulation where heat finds an easy escape route.
Uncovering Your Home’s Hidden Energy Highways
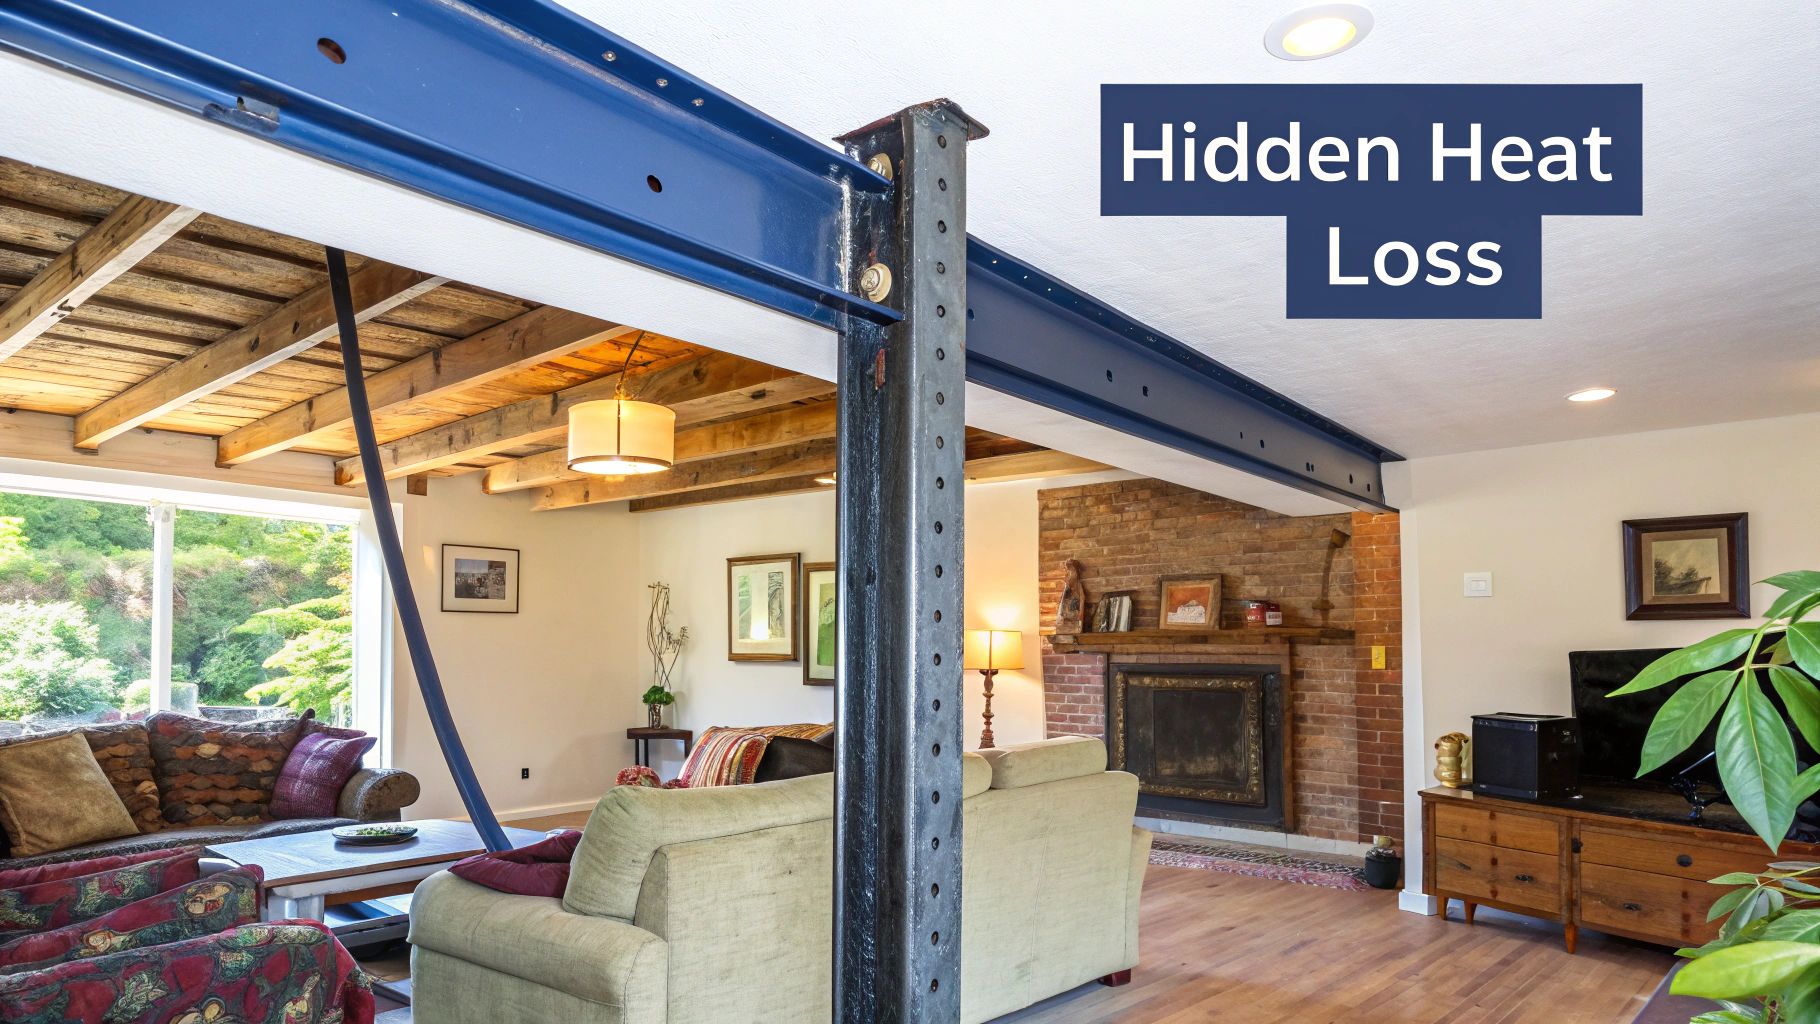
Think of your home’s insulation as a thick, cosy winter coat. It’s meant to be a seamless barrier keeping you warm. A thermal bridge is like an open metal zip on that coat, creating a direct, highly conductive path for warmth to escape and the cold to seep in.
This happens because some materials are simply better at conducting heat than others. While your insulation is designed to block heat transfer, many structural parts of a building interrupt this protective layer. These interruptions create a “bridge” for heat to travel across far more easily.
To give you a better idea of what thermal bridging is, where it happens, and why you should care, here’s a quick overview.
Thermal Bridging at a Glance
| Concept | Simple Explanation |
|---|---|
| What It Is | A ‘weak link’ in your insulation where heat finds an easier path to escape the building. |
| Where It Occurs | At junctions between walls, floors, and roofs; around windows and doors; and through structural elements like steel beams or wall studs. |
| Why It Matters | It leads to significant heat loss, higher energy bills, uncomfortable cold spots, and can even cause condensation and mould growth. |
Basically, any part of the structure that lets heat bypass your main thermal barrier is a thermal bridge.
The Most Common Culprits
So, where are these energy leaks usually found? The primary culprits are often integral parts of the building itself:
- Structural Beams: Steel and concrete beams are notorious for this, especially if they run from the inside to the outside of a wall.
- Wall Studs: Even the wooden or metal studs inside a wall cavity are less insulating than the material packed around them.
- Window and Door Frames: Metal frames, in particular, are significant sources of heat loss.
- Junctions: The points where walls meet floors, ceilings, or other walls often have gaps or discontinuities in the insulation.
This process seriously undermines how well your insulation performs, forcing your heating system to work much harder just to maintain a comfortable temperature. Getting to grips with your complete building fabric is the first real step towards finding and fixing these invisible energy leaks.
A thermal bridge is simply the path of least resistance for heat. It’s a flaw that compromises your insulation’s performance, leading to higher energy use, cold spots, and even potential moisture problems down the line.
Spotting Common Thermal Bridges in Your Home

Thermal bridges often hide in plain sight, usually where different parts of your building’s structure meet. Learning to spot these common culprits is the first step towards plugging the energy leaks in your home. Think of them as breaks or gaps in your property’s cosy insulated blanket.
These weak spots are far more common in the UK’s older housing stock. A typical solid brick terraced house from around 1920, for example, is riddled with thermal bridges simply because of how it was built. With nearly four million homes of this type across the UK, it’s a massive energy efficiency challenge.
Where to Look for Heat Leaks
So, where are these energy highways most likely to be? Start your detective work by checking these key areas:
- Window and Door Frames: The edges of windows and doors, especially older ones with metal frames, are classic thermal bridges.
- Wall, Floor, and Roof Junctions: Look where your walls meet the floor or ceiling. Gaps or poor detailing here create a direct path for heat to sneak out.
- Structural Elements: Anything that punches through the insulation can act as a bridge. This includes concrete balconies, steel support beams, and even the timber studs inside your walls.
- Corners of Rooms: The external corners of a building are known as geometric thermal bridges, where a larger outside surface area loses heat to a smaller inside one.
You don’t always need special gear to find the clues. If you notice persistent cold spots on a wall, mysterious damp patches, or mould growing in corners or around window sills, you could be looking at the direct result of a thermal bridge.
These tell-tale signs pop up because the cold surface of a thermal bridge makes moisture in your warm indoor air condense. This leads to dampness and creates the perfect conditions for mould to thrive.
To be certain, many homeowners turn to professional thermal inspections. An expert with a thermal imaging camera can create a heat map of your home, visually pinpointing exactly where warmth is escaping and taking all the guesswork out of the process.
How Thermal Bridges Impact Your Bills and Comfort
A thermal bridge isn’t just some minor construction flaw; it’s an active drain on your building’s performance and your personal comfort. Think of these weak spots in your insulation as open channels, creating a direct path for precious heat to escape outside.
This constant leak forces your heating system to work much harder and for much longer just to keep the indoor temperature stable. The financial hit can be pretty significant. In fact, buildings riddled with thermal bridging can suffer heat losses 20-30% higher than properly insulated structures. Unsurprisingly, this translates directly into bigger energy bills.
More Than Just a Financial Drain
Beyond the obvious sting to your wallet, thermal bridging creates real problems for the health and comfort of anyone inside. When warm, moist indoor air hits the cold surfaces created by a thermal bridge, condensation is inevitable.
This persistent dampness is the perfect breeding ground for mould and mildew. Not only is this a serious health risk that degrades your indoor air quality, but it also causes physical damage.
Constant condensation will ruin interior finishes like paint and plaster. Even worse, it can lead to long-term structural issues like the rotting of timber frames, which only deepens the thermal bridge problem over time.
This moisture risk is a critical part of a building’s overall performance. Getting a professional condensation risk assessment is the best way to spot these vulnerable areas before they turn into expensive headaches.
Let’s not forget the immediate impact on comfort. Those cold spots lead to noticeable draughts and rooms with frustratingly uneven temperatures, making spaces feel unwelcoming and almost impossible to heat properly. To create a home that’s not just energy-efficient but genuinely comfortable and healthy, you have to tackle the root cause: the thermal bridge itself.
The wide-ranging consequences of thermal bridging touch everything from your finances to your health. Here’s a quick summary of what’s at stake.
Impact of Thermal Bridging on Home Performance
| Area of Impact | Description of Negative Effect |
|---|---|
| Energy Consumption | Increased heat loss forces the heating system to work harder, leading to significantly higher energy bills. |
| Occupant Comfort | Cold spots, draughts, and uneven temperatures make living spaces feel consistently uncomfortable and chilly. |
| Building Health | Condensation on cold surfaces promotes the growth of mould and mildew, damaging finishes and posing health risks. |
| Structural Integrity | Persistent moisture can lead to the decay of structural materials like timber, compromising the building’s long-term stability. |
As you can see, ignoring these thermal weak spots doesn’t just cost you money—it actively undermines the quality and safety of your living environment.
Understanding Building Regulations on Heat Loss
The UK construction industry is finally getting serious about the huge impact of thermal bridging, with Building Regulations leading the charge for much better performance. The rules aren’t just about packing in thick insulation anymore; they demand a smarter, more complete approach to stopping heat from escaping where it shouldn’t.
Specifically, Part L (Conservation of fuel and power) sets the modern standard for energy efficiency. These regulations have shifted the focus firmly onto the performance of the entire building envelope. This forces designers and builders to properly account for heat loss through junctions, not just through the big, flat surfaces like walls and roofs. In short, every potential weak spot needs to be understood and calculated.
The Shift to Precise Calculations
In the past, builders could often get away with using generic, assumed values for thermal performance. But recent updates have tightened these rules considerably. For a long time, the real significance of thermal bridging was underestimated in the UK, but that has definitely changed.
The 2021 updates to Part L reflect this by increasing the default thermal bridging value from 0.15 to 0.2 W/m²K. This move effectively penalises vague assumptions and rewards those who take the time to do precise, project-specific calculations.
This infographic shows just how much stricter the new standards for U-values and junction performance have become compared to the old rules.
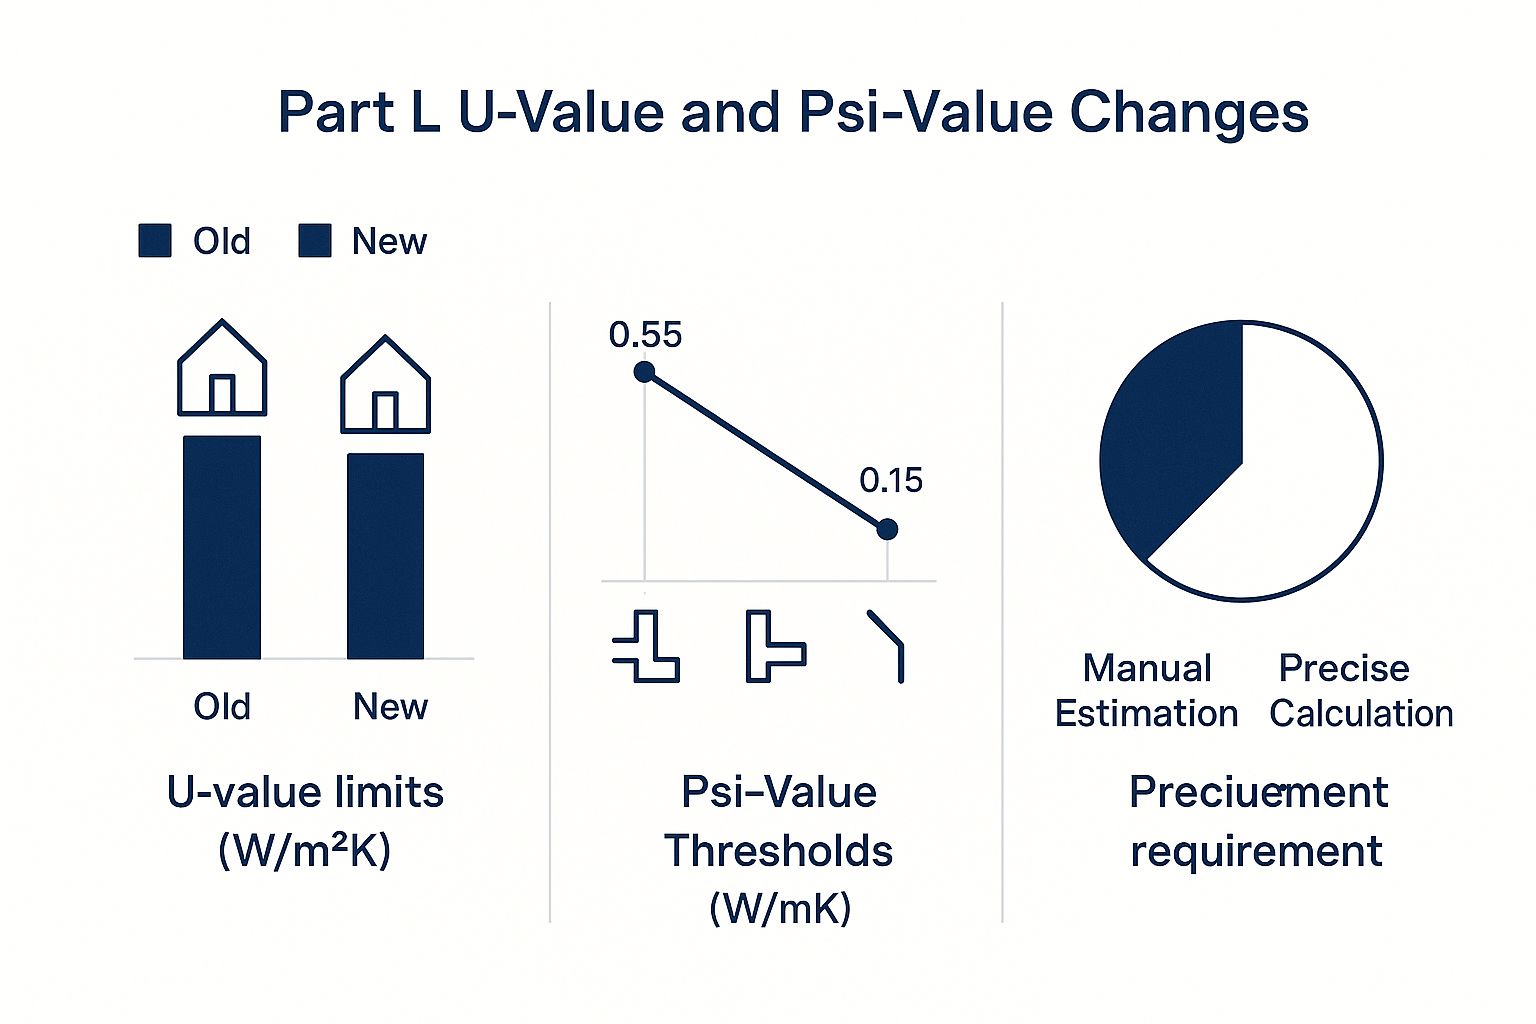
The key takeaway is crystal clear: accurate thermal modelling for your specific project is no longer a ‘nice-to-have’—it’s essential to prove you’re compliant.
Terms like ‘Psi-values’ (which measure the linear heat loss at junctions) have moved from being specialist jargon to critical metrics for any new build or major renovation. To meet the standards, you have to carefully design and construct junctions to keep heat loss to an absolute minimum, a process detailed in Scotland’s own technical guidance updates.
Ultimately, this ensures that any investment in energy efficiency delivers real, measurable results, creating a home that performs just as well in reality as it does on the architect’s drawings.
Proven Solutions to Stop Thermal Bridging
Knowing what thermal bridging is puts you in a much better position to tackle it. The good news is that whether you’re building from scratch or upgrading an older property, there are solid strategies to stop these hidden energy leaks and create a far more efficient and comfortable home.
By far the best approach is to design thermal bridges out of the building right from the start. The goal here is to create a truly continuous insulation layer that wraps the entire building envelope, leaving no gaps or breaks. Think of it like designing a winter coat with no zips or seams for the cold to get through.
This is usually done through smart design choices and careful material selection. For example, using thermally broken components, like window frames with a less conductive material separating the interior and exterior metal, is a simple but critical way to halt heat transfer.
Solutions for New Buildings
For new builds, architects and builders have the biggest opportunity to eliminate thermal weak points before they even exist. Some of the most effective strategies include:
- External Wall Insulation (EWI): Placing the main insulation on the outside of the structure creates a seamless thermal blanket. This neatly covers potential bridges like wall studs and where floors meet walls.
- Advanced Framing Techniques: These clever methods use less timber in the walls. Less timber means fewer pathways for heat to escape through the building’s frame.
- Careful Junction Detailing: This is all about the details. Meticulous design where walls meet floors, roofs, and windows ensures the insulation layers connect perfectly, leaving no gaps for heat to bypass the system.
A proactive approach during the design phase is the single most powerful tool for preventing thermal bridging. It is always more cost-effective to design a problem out than to fix it later.
Retrofitting Existing Homes
Fixing thermal bridges in an existing house can be trickier, but it’s definitely achievable. The most common solution is applying EWI, which effectively wraps the home and covers up many of the existing weak spots.
When looking at your home’s exterior, exploring the design of components like advanced siding systems can offer ideas on materials that help reduce heat loss. Another option is targeted internal insulation, but you have to be careful here to manage any potential moisture risks. For specific problem areas like window reveals or exposed steel beams, applying localised insulation can also make a real difference to both comfort and your energy bills.
Comparing Thermal Bridging Mitigation Strategies
Deciding on the right fix depends on your specific situation—whether it’s a new build or a retrofit, your budget, and how much disruption you’re willing to accept. Each method has its pros and cons.
| Strategy | Best For | Effectiveness | Considerations |
|---|---|---|---|
| Continuous External Insulation | New builds and major retrofits | Very High | Most effective solution, but can be costly and changes the building’s exterior appearance. |
| Advanced Framing | New timber-frame constructions | High | Reduces structural thermal bridges significantly. Requires specific design and construction skills. |
| Thermally Broken Components | Windows, doors, and structural connections | High | Essential for high-performance buildings. A standard feature in modern high-quality components. |
| Improved Junction Details | All construction types, especially new builds | High | Crucial for overall performance. Relies heavily on good design and quality workmanship on-site. |
| Internal Insulation | Targeted retrofits or where external work isn’t possible | Medium | Can be effective for specific areas but carries a risk of interstitial condensation if not detailed properly. |
Ultimately, combining several of these strategies often yields the best results. For new projects, planning is everything, while for existing homes, a careful assessment will point you towards the most impactful and practical upgrades.
Your Questions About Thermal Bridging Answered
When you start digging into the details of thermal bridging, questions are bound to pop up. Whether you’re a homeowner worried about climbing energy bills or a builder striving for better standards, getting clear, straightforward answers is crucial. Let’s tackle some of the most common queries.
Each of these questions touches on a real-world concern, helping you figure out how to spot, deal with, and budget for fixing these hidden energy leaks in a property. Armed with the right information, you can make much smarter decisions.
How Can I Tell if I Have a Thermal Bridge?
You might already suspect something is wrong if you’ve noticed tell-tale signs like stubbornly cold spots on your walls or pesky patches of mould that keep coming back. But to be absolutely certain, the most definitive way to find a thermal bridge is with a thermal imaging survey.
A professional will use a special infrared camera to create a detailed heat map of your home, which literally shows you where warmth is escaping. It’s brilliant for pinpointing complex or hidden problem areas that you’d never spot with a simple visual check, taking all the guesswork out of the diagnosis.
Is Fixing Thermal Bridging a DIY Job?
For some of the smaller tasks, a competent DIY enthusiast can certainly make a difference. Things like beefing up the insulation around your window frames or meticulously sealing up draughts are manageable jobs that can chip away at the problem.
However, the most effective and lasting solutions almost always need professional expertise. Major work like installing external wall insulation (EWI) or modifying structural junctions is complex and not without risk. These jobs demand specialised equipment and a deep understanding of building physics to get them right—and to avoid accidentally causing new issues like trapped moisture.
Attempting a major retrofit without the right skills can sometimes make the problem worse or create new ones. It’s almost always more cost-effective in the long run to bring in an expert.
How Much Does It Cost to Fix Thermal Bridging?
This is a classic “how long is a piece of string?” question, as the cost can vary dramatically depending on the scale of the problem and the solution you choose. Simple, targeted fixes might only set you back a few hundred pounds for materials and a day’s labour.
On the other hand, comprehensive strategies like EWI are a significant investment. For a typical UK home, this can run into several thousands of pounds, depending on the property’s size and complexity. It’s vital to see this not just as an upfront cost, but as a long-term investment that pays for itself through substantial, year-on-year savings on your energy bills.
At Luths Services, we specialise in identifying and designing effective, practical solutions for thermal bridging. Contact us today to ensure your building performs as efficiently as it should.


